
- How Do You Know If Your Hardwood Floor Is a Good Candidate for Refinishing?
- What Equipment Is Needed for Professional Hardwood Floor Sanding and Refinishing?
- What Is the Correct Sanding Grit Sequence for Hardwood Floor Refinishing?
- How Do Staining and Water Popping Improve Hardwood Floor Color and Grain?
- Water-Based Polyurethane vs. Oil Finishes: Which Is Best for Hardwood Floors in 2026?
- How Do You Maintain Refinished Hardwood Floors and Extend Their Lifespan?
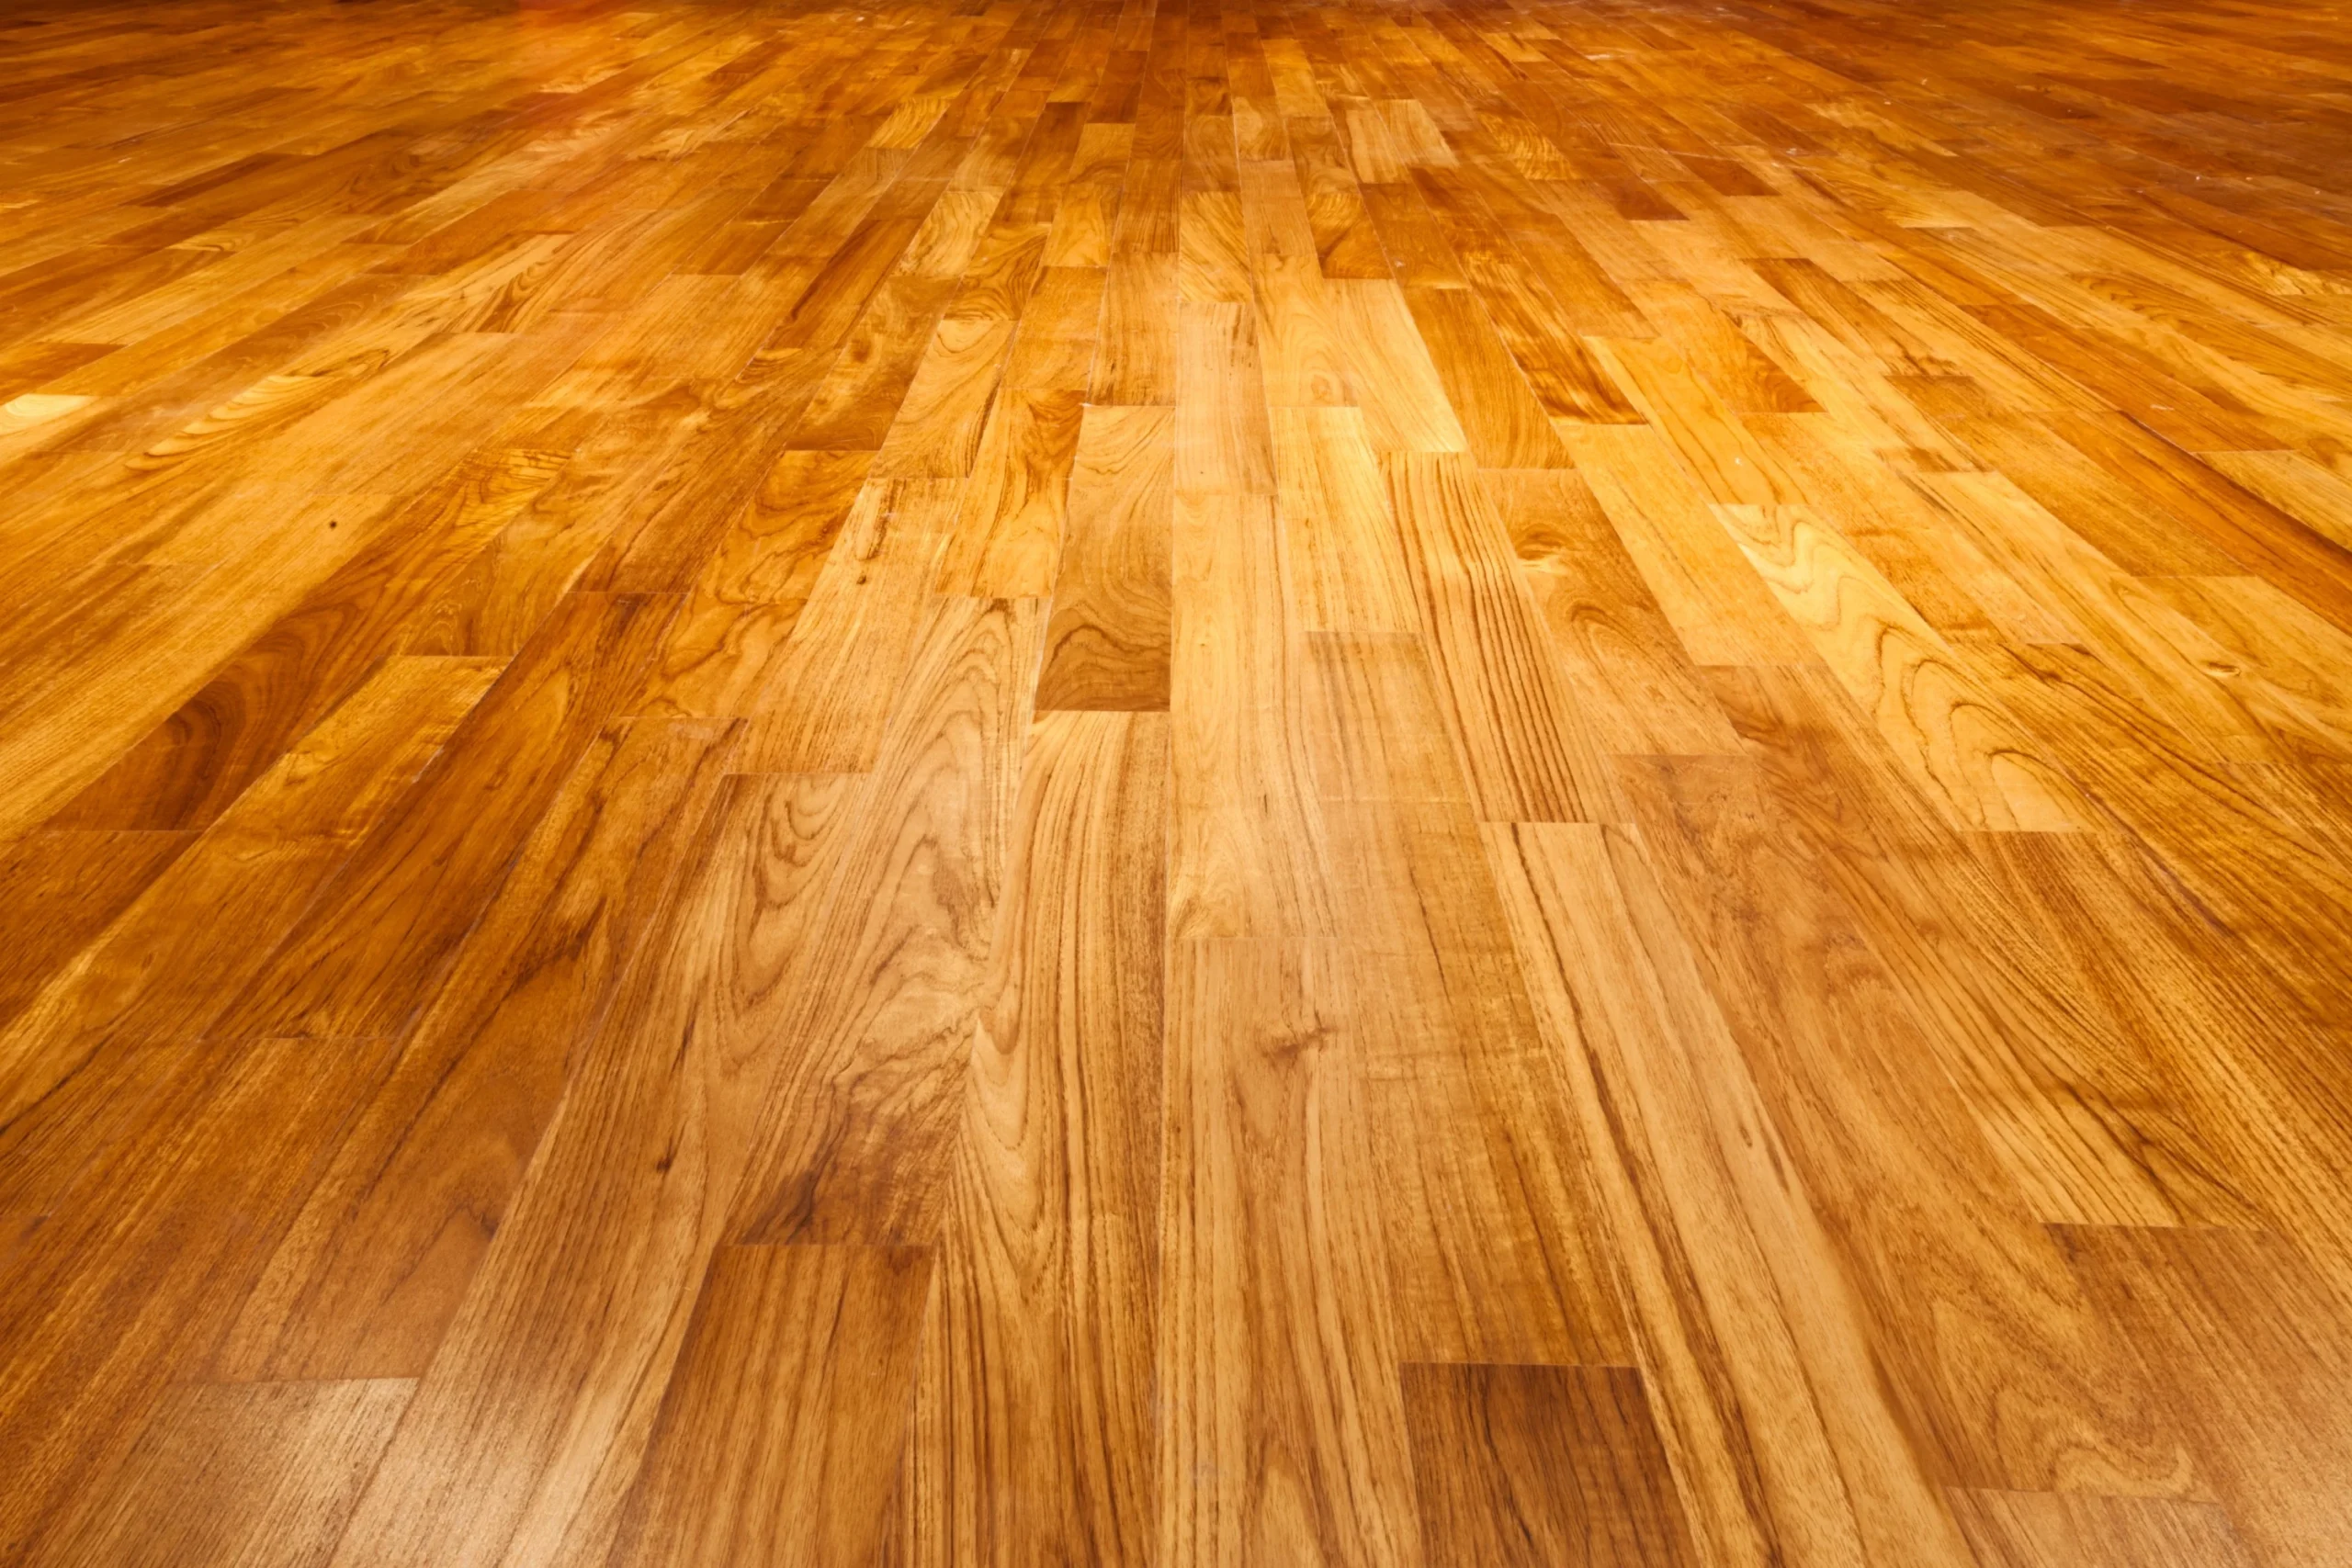
There is a primal satisfaction in watching a weathered, graying oak plank transform into a golden, shimmering masterpiece. For many homeowners, a hardwood floor is more than just a surface to walk on; it is a historical document of their family’s life, a repository of warmth, and a significant chunk of their home’s equity. However, wood is a biological material. It breathes, it reacts to humidity, and it eventually succumbs to the abrasive reality of daily life. When the scratches become deep enough to hold dirt and the finish has worn down to the raw grain, you are no longer looking at a “rustic” aesthetic. You are looking at a floor in distress.
Refinishing is the ultimate reset button. It is a process that involves equal parts heavy machinery, chemistry, and artistic intuition. In this comprehensive guide, we will explore the technical nuances of bringing your floors back to life, ensuring that your investment remains protected for the next generation.
The Forensic Audit: Evaluating the Structural Integrity of Your Floor
Before you move a single piece of furniture or rent a drum sander, you must perform a technical assessment. Not every floor is a candidate for refinishing. If you misjudge the remaining life of your wood, you risk a catastrophic failure where the sanding belt literally eats through the floor into the subfloor below.
The most critical metric is the “wear layer.” If you have solid hardwood, the wear layer is the amount of wood available above the tongue and groove. In a standard $3/4$ inch board, you typically have about $5/16$ of an inch of sandable material. If your floor has already been refinished three or four times over the last century, you might be dangerously close to the nails. You can check this by removing a floor vent or a piece of baseboard molding to see the side profile of the planks. If the wood above the groove is thinner than a penny, a full drum sanding is likely too aggressive.
You also need to identify the species of the wood, as this dictates your sanding strategy and finish choice. Red Oak and White Oak are forgiving and porous, making them ideal for staining. Maple, on the other hand, is incredibly dense. If you sand Maple too finely, you actually “burnish” the wood, closing the pores so tightly that stain cannot penetrate, leading to a blotchy, amateurish mess. Exotic species like Ipe or Brazilian Cherry contain natural oils that can interfere with the drying process of certain polyurethanes. Knowing your species is the difference between a successful project and a chemical nightmare.
Mastering the Heavy Machinery: The Physics of Sanding
Sanding a floor is not like sanding a piece of furniture. You are operating heavy, high-torque machines that can cause permanent structural damage in a fraction of a second. The goal is to achieve a perfectly flat plane across thousands of square inches.
The “Field” of the room is handled by the drum sander or belt sander. This machine is the beast of the industry. It uses a continuous loop of sandpaper spinning at high speeds. The secret to using a drum sander is constant motion. The moment you stop, the drum continues to spin, digging a “divot” or “dish” into the wood. Professional hardwood floor contractors spend years mastering the “feathering” technique, where the drum is lowered and raised while the machine is already in motion to avoid leaving start and stop marks.
Then there is the Edger. While the drum sander handles the center of the room, it cannot get within the last few inches of the walls. The edger is a powerful disc sander that requires you to work on your hands and knees. It is notorious for leaving “swirl marks” if not used with a steady hand. Finally, a professional project always includes a buffer or a multi-disc sander (like a Trio). This machine blends the grain patterns between where the drum stopped and the edger began, creating a monolithic, smooth surface that is ready for the finish.
In 2026, the industry has moved toward nearly 100% dust containment. Modern professional systems use high-powered, truck-mounted vacuums or specialized portable HEPA units that connect directly to the sanding equipment. This isn’t just about keeping your curtains clean; it is about the quality of the finish. Any dust left on the floor or floating in the air will inevitably land in your wet topcoat, creating “nibs” or a sandpaper-like texture that ruins the look of the floor.
The Grit Sequence: The Path to a Glass-Like Surface
One of the most common mistakes in DIY refinishing is skipping grits in the sanding sequence. You cannot move from a coarse 36-grit paper to a fine 100-grit paper and expect the floor to be smooth. Sanding is a process of replacing deep scratches with shallower scratches.
A typical professional sequence for a distressed floor looks like this:
- 36 Grit (The Rough Cut): This is where you remove the old finish, the scratches, and the “gray” oxidized wood. You are leveling the floor here.
- 50 or 60 Grit (The Medium Cut): This pass removes the deep gouges left by the 36-grit paper.
- 80 Grit (The Fine Cut): This begins to smooth the wood fibers.
- 100 or 120 Grit (The Screen/Buff): This is the final polishing stage.
Skipping a step (for example, going from 36 to 80) leaves “invisible” 36-grit scratches that only appear once you apply the stain. The pigment in the stain settles into these deep trenches, creating dark, ugly lines that look like a cat scratched the entire floor.
Between the medium and fine cuts, you should perform “trowel filling.” This involves spreading a paste made of wood flour and a resin binder over the entire floor. As you scrape it across the surface, the paste fills every micro-gap, knot hole, and nail head. When you perform your final sand, you remove the excess, leaving a floor that is structurally “whole” and visually seamless.
The Art of Color: Staining and the “Water Popping” Secret
If you decide to change the color of your floor, you are entering the most stressful phase of the project. Staining is permanent and unforgiving. The way wood accepts color is determined by its porosity. If the wood is “tight,” the color will be light and uneven.
This is where the expert technique of “water popping” comes in. After the final sanding, you lightly and evenly mist the floor with water. This causes the wood cells to swell and stand up (opening the grain). Once the water evaporates, the wood is significantly more porous and will accept the stain much more deeply and evenly. This is especially critical for dark colors like Ebony or Jacobean.
However, water popping is a high-risk move. If you leave a puddle or a drip, it will show up as a dark spot in the final product. You also cannot walk on a water-popped floor with bare feet or even clean shoes; any pressure will crush the “popped” fibers and leave a footprint in the stain. This level of precision is why many homeowners eventually decide to search for hardwood floor refinishing near me rather than risking a DIY catastrophe on a 500-square-foot living room.
The Chemistry of Protection: Choosing the Right Topcoat
The finish is the “sacrificial lamb” of your floor. Its job is to be destroyed so that the wood remains pristine. In the current market, you have three primary choices, each with its own set of pros and cons.
1. Water-Based Polyurethane (The Modern Standard)
These are the most popular finishes in 2026. They are low in VOCs (Volatile Organic Compounds), meaning they don’t smell like a chemical spill and are safer for your family. They dry in 2 to 4 hours, allowing a pro to apply three coats in a single day. High-end “2K” water-based finishes use a catalyst (a hardener) that makes them incredibly resistant to scratches and chemicals. They stay clear over time, which is perfect for keeping that “Scandi-chic” light oak look.
2. Hardwax Oils (The Organic Choice)
If you want a floor that looks like wood and not like a sheet of plastic, hardwax oils are the answer. These finishes soak into the wood fibers and harden. They offer a matte, sophisticated look. The major benefit here is “spot repairability.” If you scratch a polyurethane floor, you generally have to sand the whole room to fix it. With a hardwax oil, you can just sand the small scratch and rub a bit more oil into it. It blends perfectly.
3. Oil-Modified Polyurethane (The Old School)
These provide a warm, amber glow that many people associate with “classic” hardwood. They are very durable and inexpensive, but they take 8 to 24 hours to dry per coat and have a very strong odor. They also yellow significantly as they age, which can make your beautiful white oak look orange after five years.
Regardless of the finish, the application is critical. You must maintain a “wet edge” to avoid lap marks, and the environment must be kept at a specific temperature and humidity level to ensure the chemistry of the finish works as intended.
Longevity and the Value of Professionalism
Refinishing your floors is one of the highest-ROI (Return on Investment) projects you can undertake. A well-done refinish can add thousands to the appraisal of your home. However, it is a task that punishes shortcuts. If you use cheap rental equipment or sub-par finish from a big-box store, you will likely be doing the project again in three years.
Professional hardwood floor contractors bring more than just machines to the job; they bring an understanding of wood science. They know how to read the moisture content of your subfloor to prevent “peeling” or “blistering” of the finish. They understand how different species react to different light conditions. They have the experience to look at a floor and know exactly which grit sequence will yield the smoothest results.
If you are ready to transform your home, don’t wait until the wood is grey and splintering. The sooner you act, the less wood you have to sand away, preserving the life of your floor for decades to come. Whether you choose to tackle the drum sander yourself or decide to Renew Floors Today by hiring a specialist, the result will be a home that feels more grounded, more luxurious, and more “you.”
Maintaining that glow requires a simple but disciplined routine. Throw away the ammonia-based cleaners and the steam mops. Use a microfiber mop and a cleaner with a neutral pH. Put felt pads on every chair leg and rug pads under every area rug. By respecting the finish, you respect the wood, and the wood will return the favor by looking spectacular for the next twenty years.